

Digital shower control
Installing RainButton: Everything you need to know
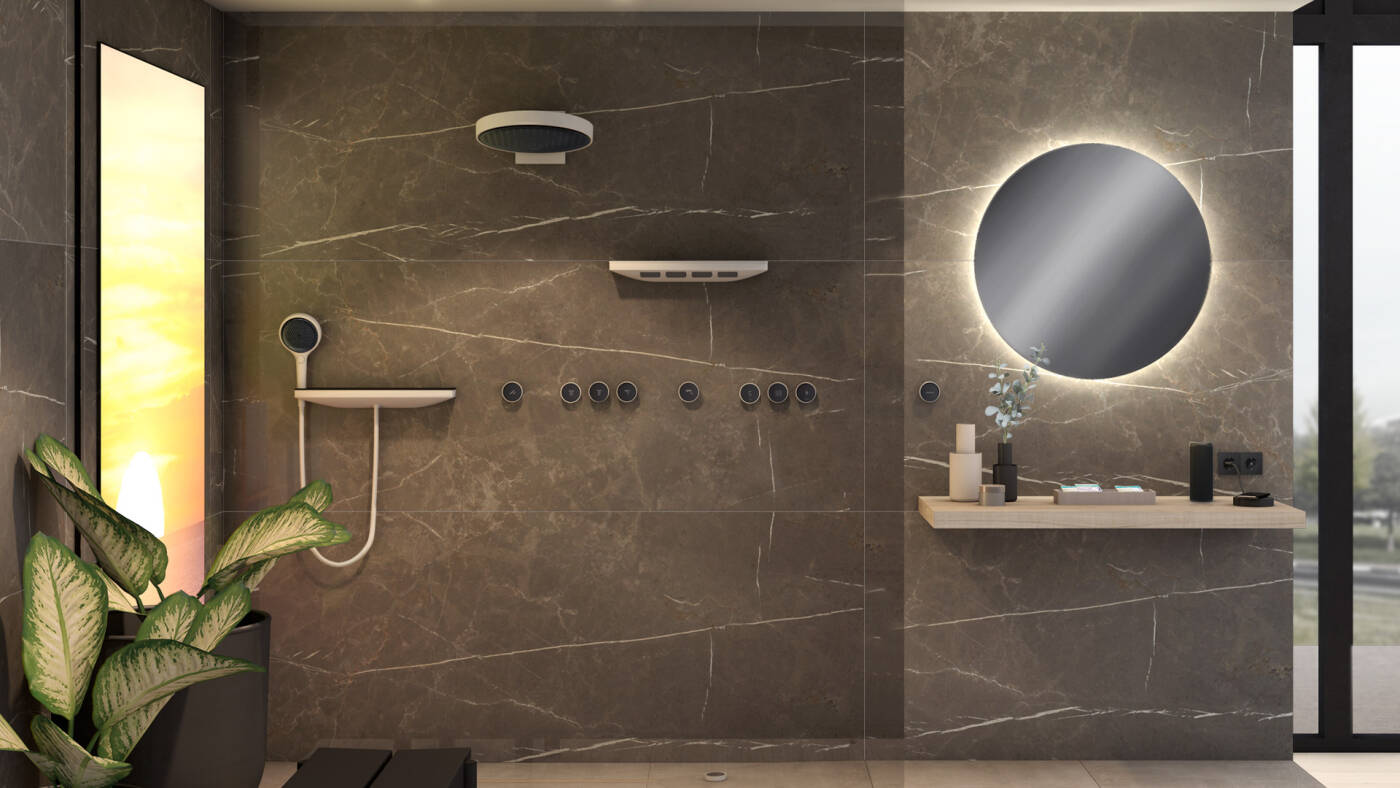
With hansgrohe RainButton, shower control becomes a smart pleasure. Your customers can control their daily water experience via mobile control buttons, letting the technology disappear behind the wall. Installing this shower system requires new hardware and software. Find out exactly what you need and how everything corresponds with each other below.
Why RainButton, and how do they work?
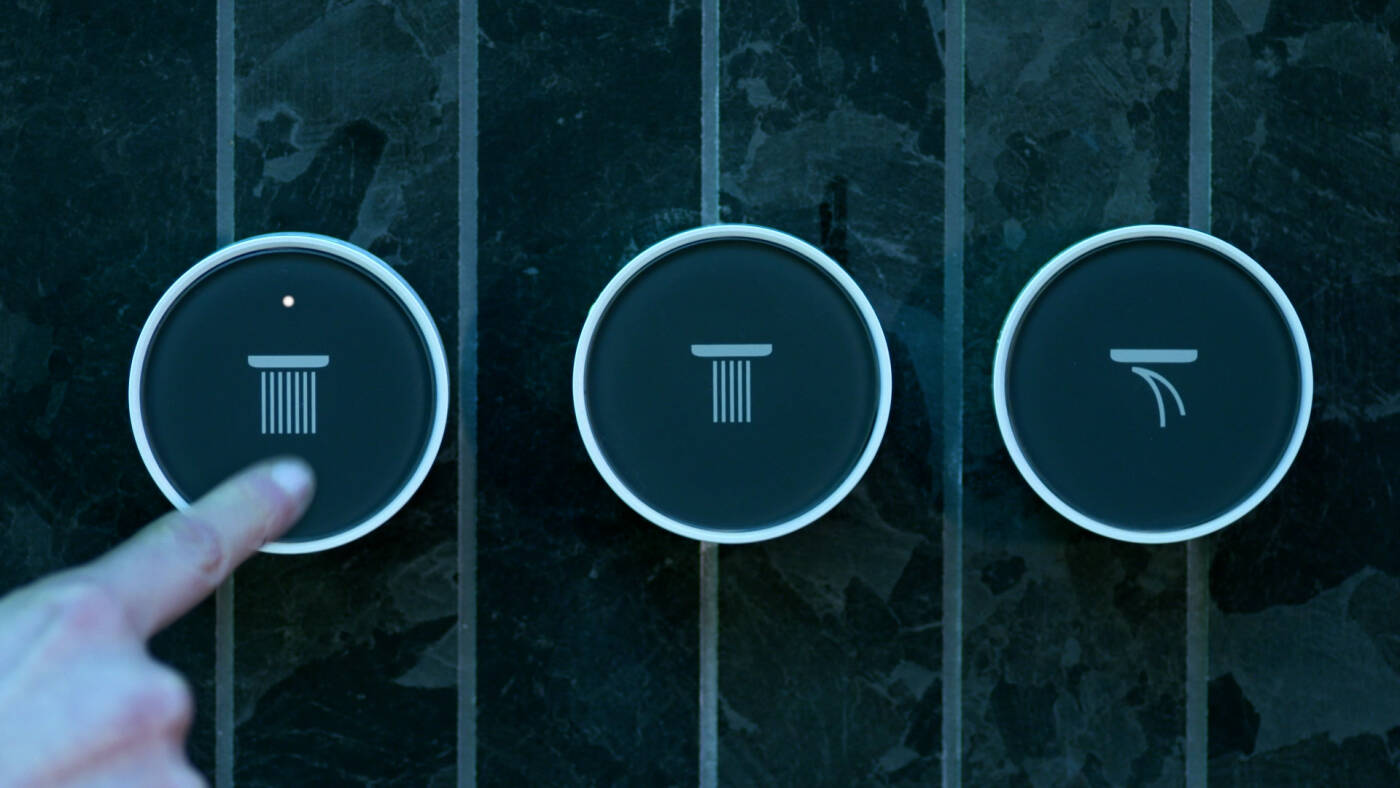
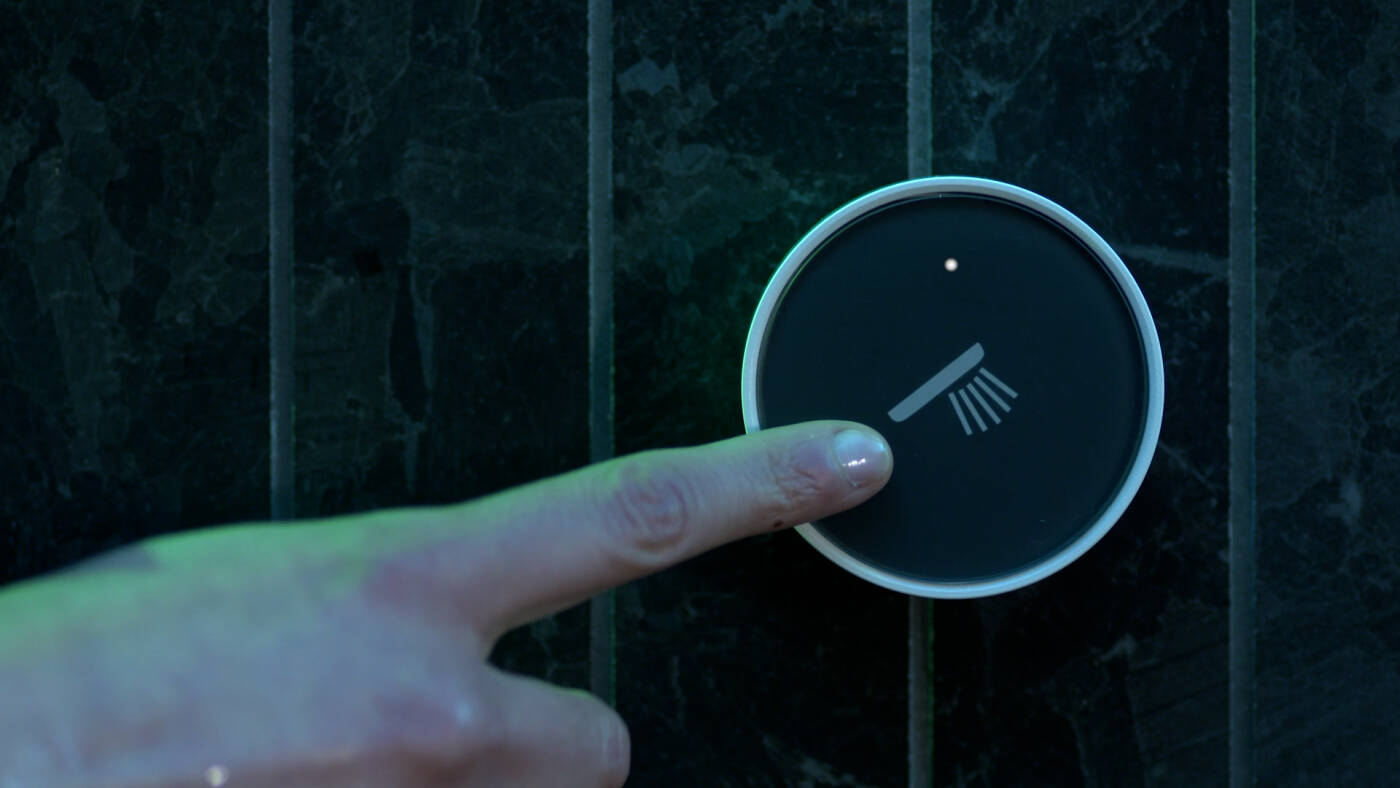
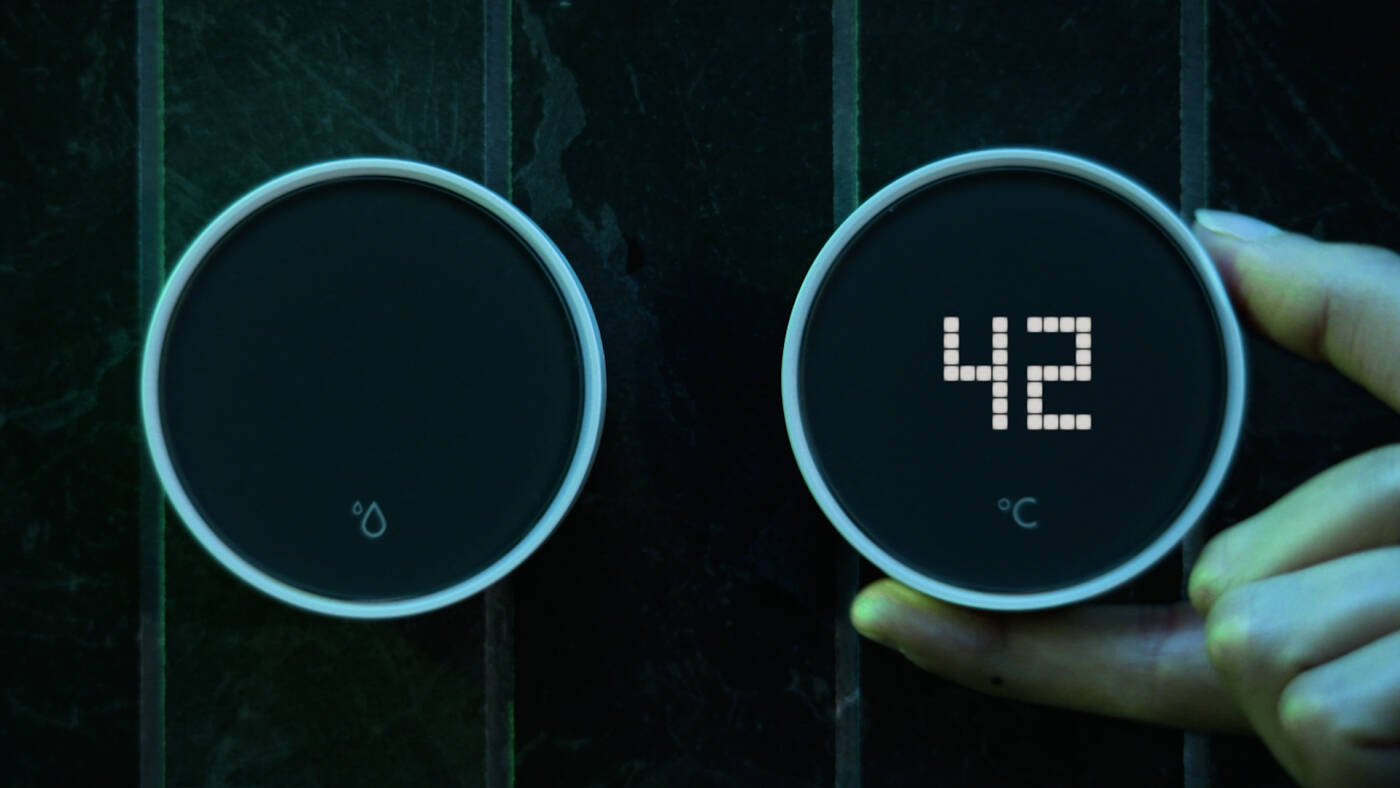
- The system is smart and minimalist. The shower is controlled exclusively via RainButton. The round controls communicate with the concealed faucet that you previously installed behind the wall.
- Because RainButton work via wireless Bluetooth technology, you can place them freely on the shower wall. Please ask your customers where they would like to have the control buttons placed.
- You can glue or screw the RainButton brackets to the wall.
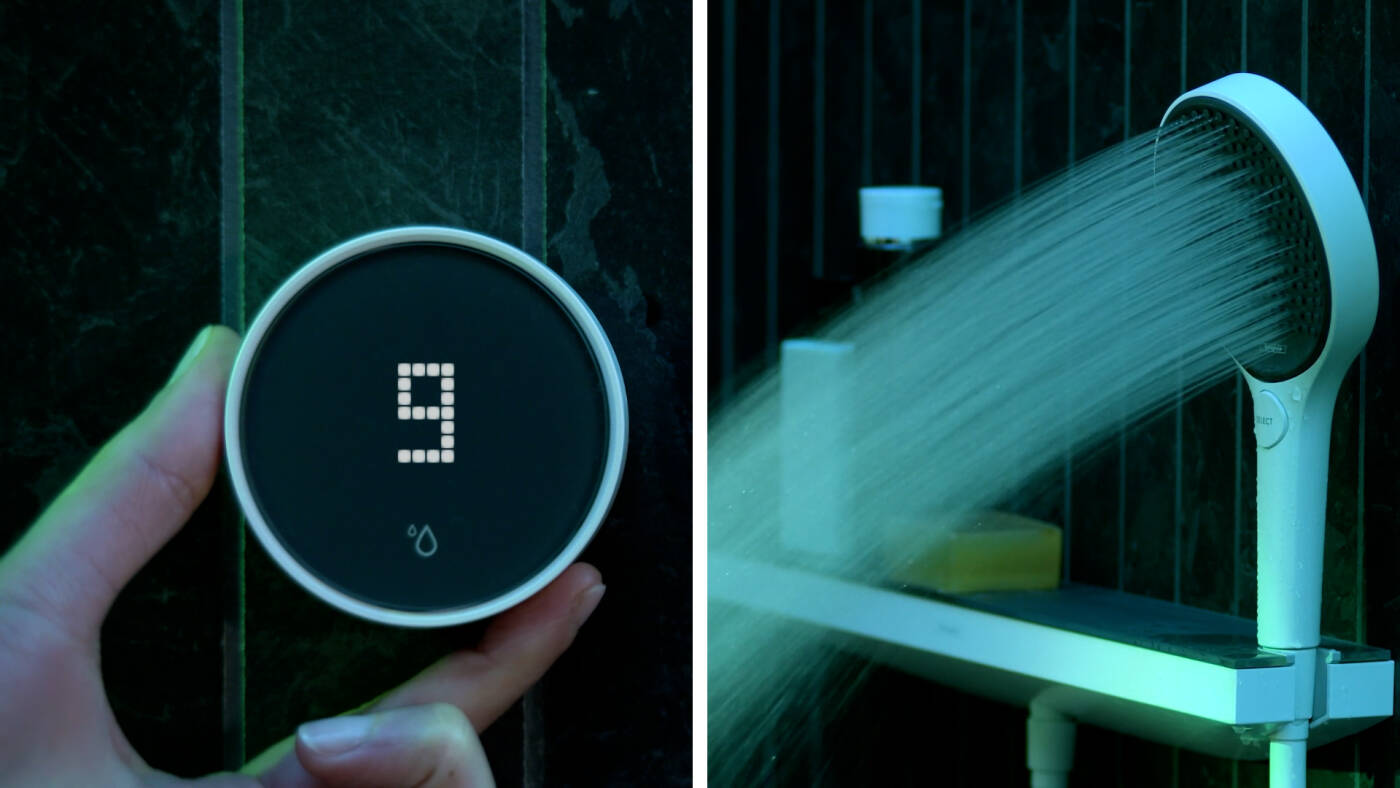
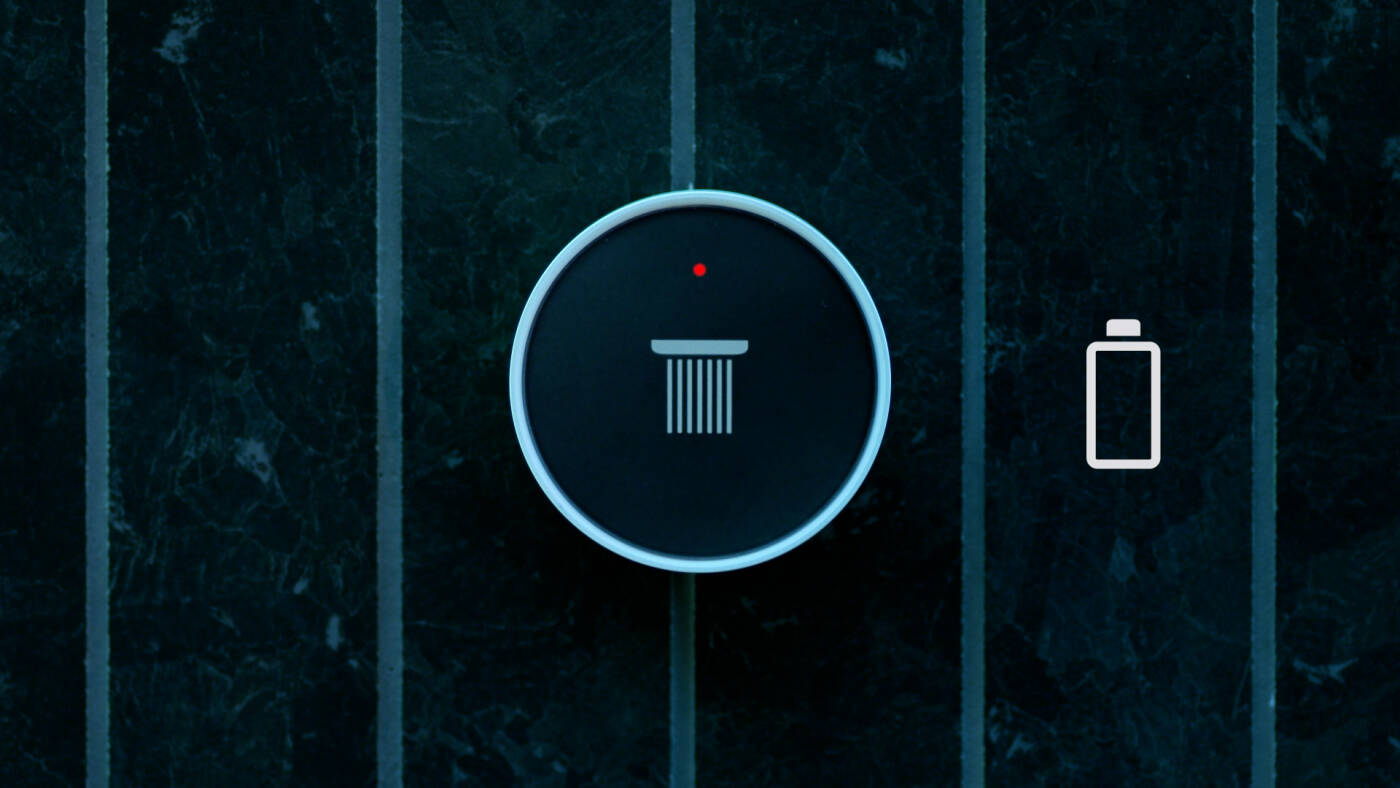
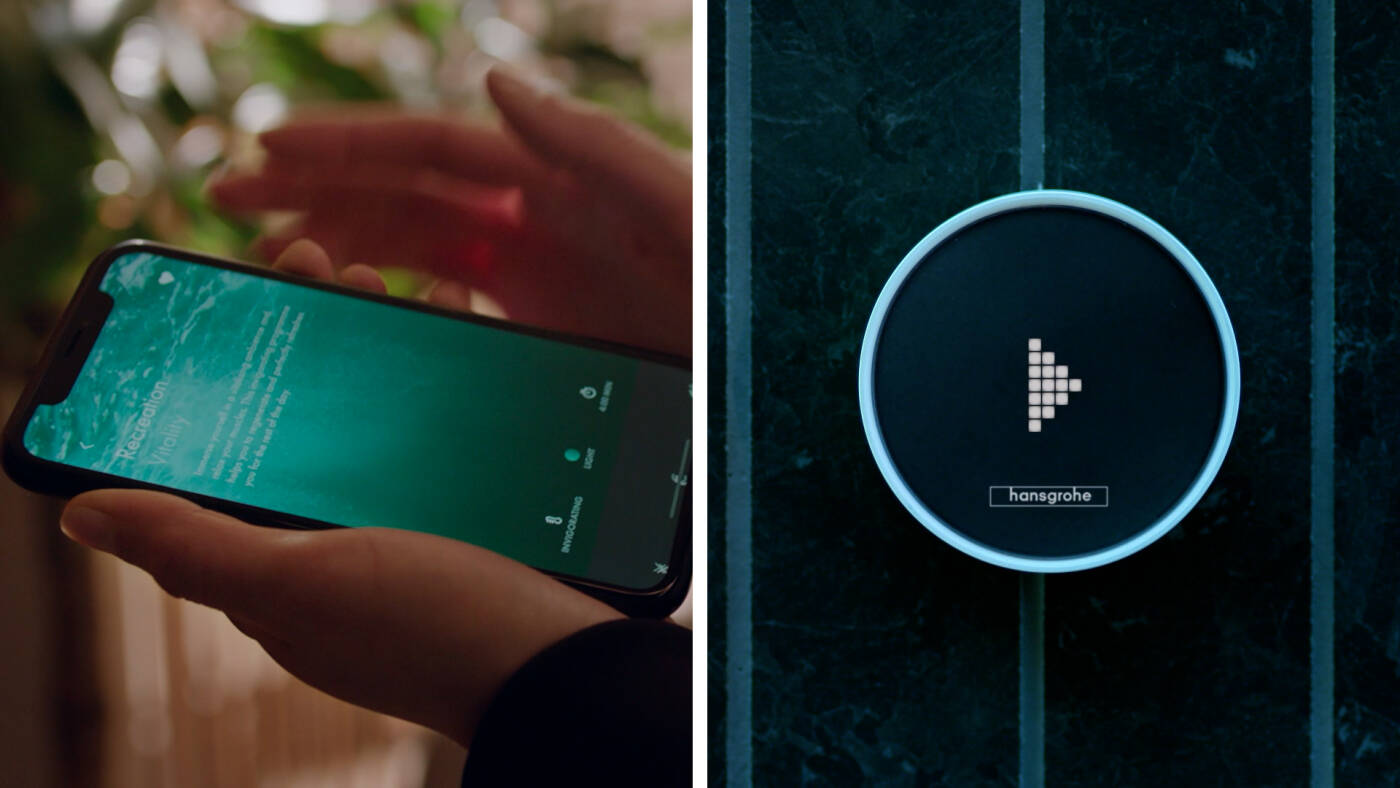
- Rechargeable batteries are integrated into the RainButton. When the charge is low, a flashing red LED light will appear. Time to charge the RainButton on the Qi charging pad until the display glows green again. The battery charge level can also always be viewed via the hansgrohe home app.
You can view all the components, features, and operating options of this smart shower control in the RainButton image gallery.
Everything RainButton can do in the shower


Installing hansgrohe RainButton: video instructions
Professional installation part 1: The consumers
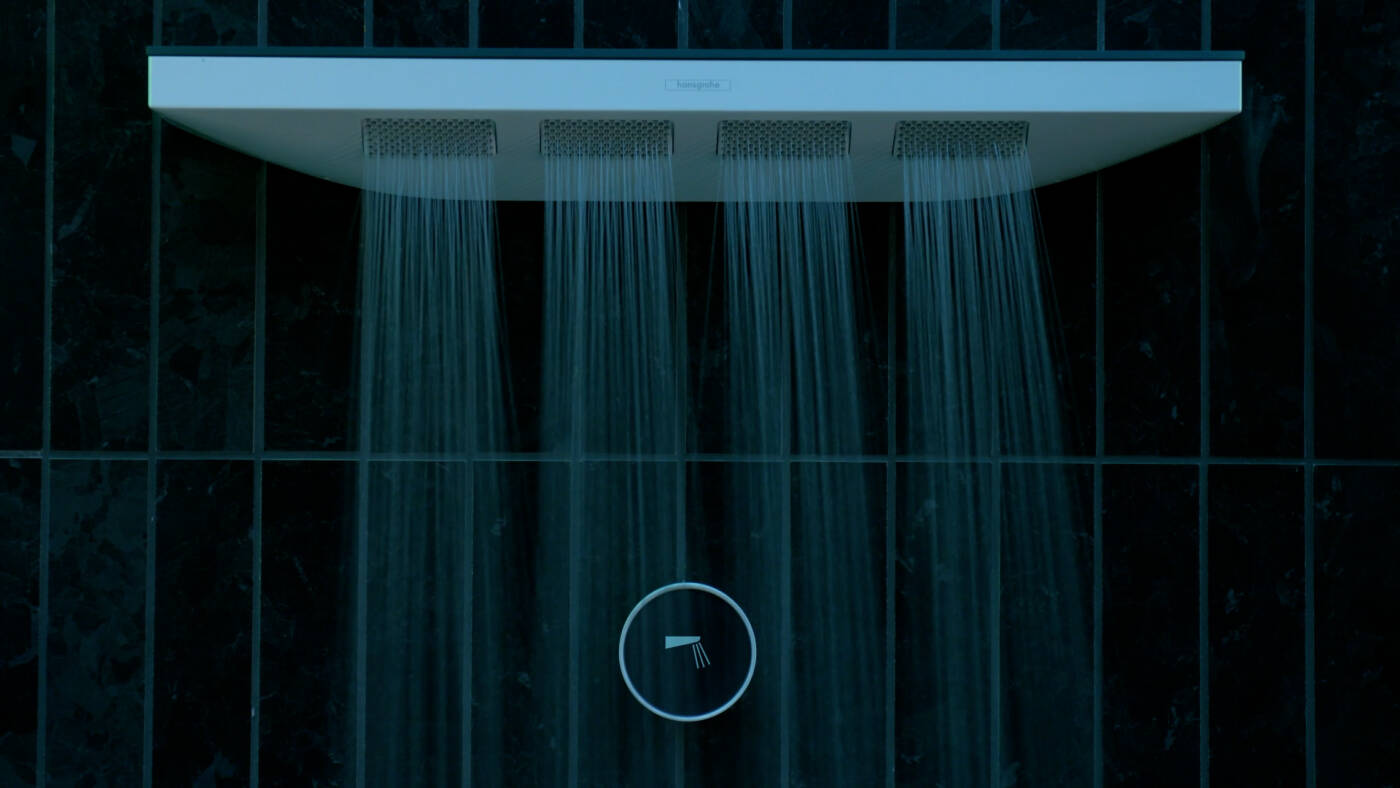
For the shower to be controlled via the smart RainButtons, the product package put together by hansgrohe consists of several hardware components. Important: RainButtons are only compatible with Rainfinity digital showers. The minimum solution consists of one shower, the maximum of three. The award-winning Rainfinity line comes in two surface designs: matte white/graphite and chrome/graphite.You can see which shower components can be combined with each other below in the product carousel. Two to five consumers are possible.
And how many RainButtons are needed? It’s simple: One RainButton per faucet. Each consumer is assigned a control element. Optionally, your customers can choose a Scenario button and a Warm-up button.
Professional installation part 2: Hardware for raw installation
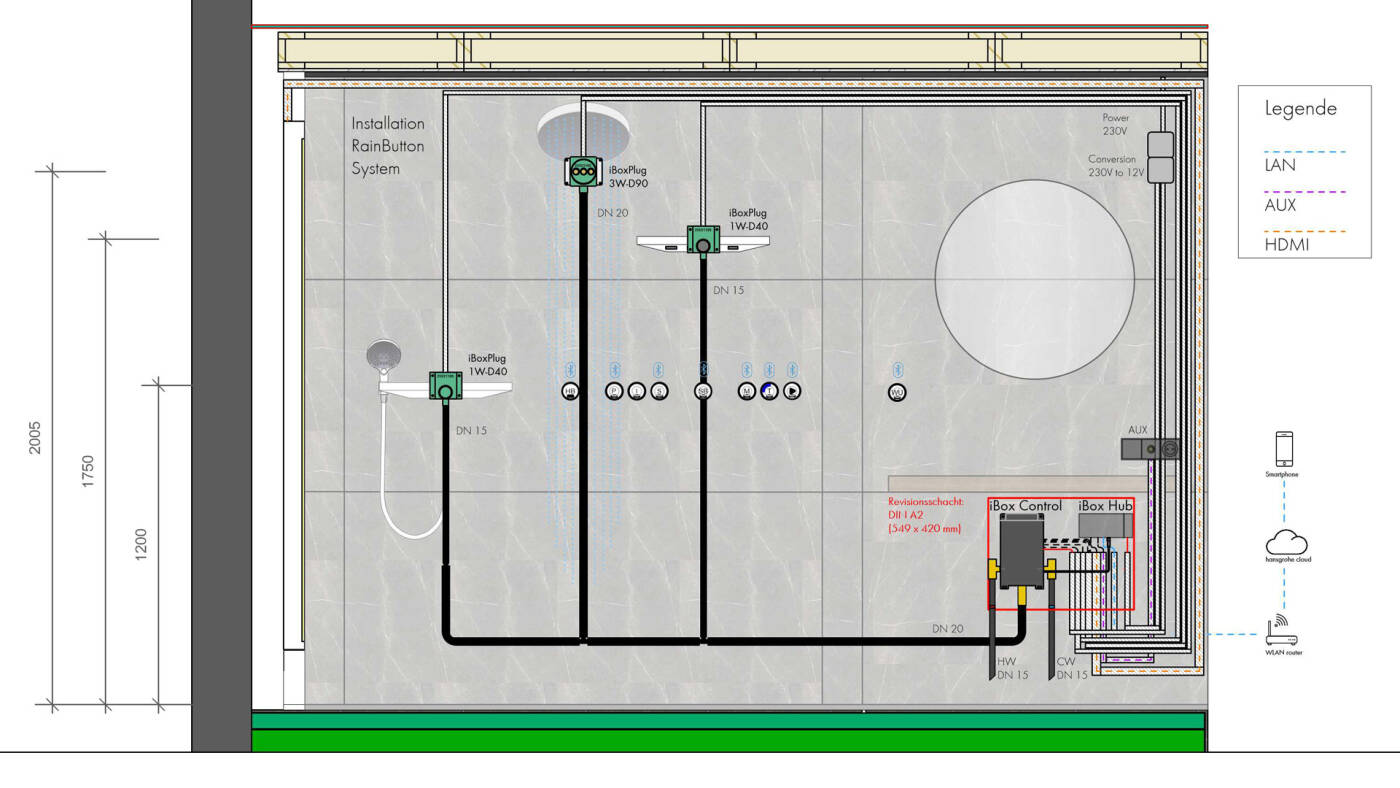
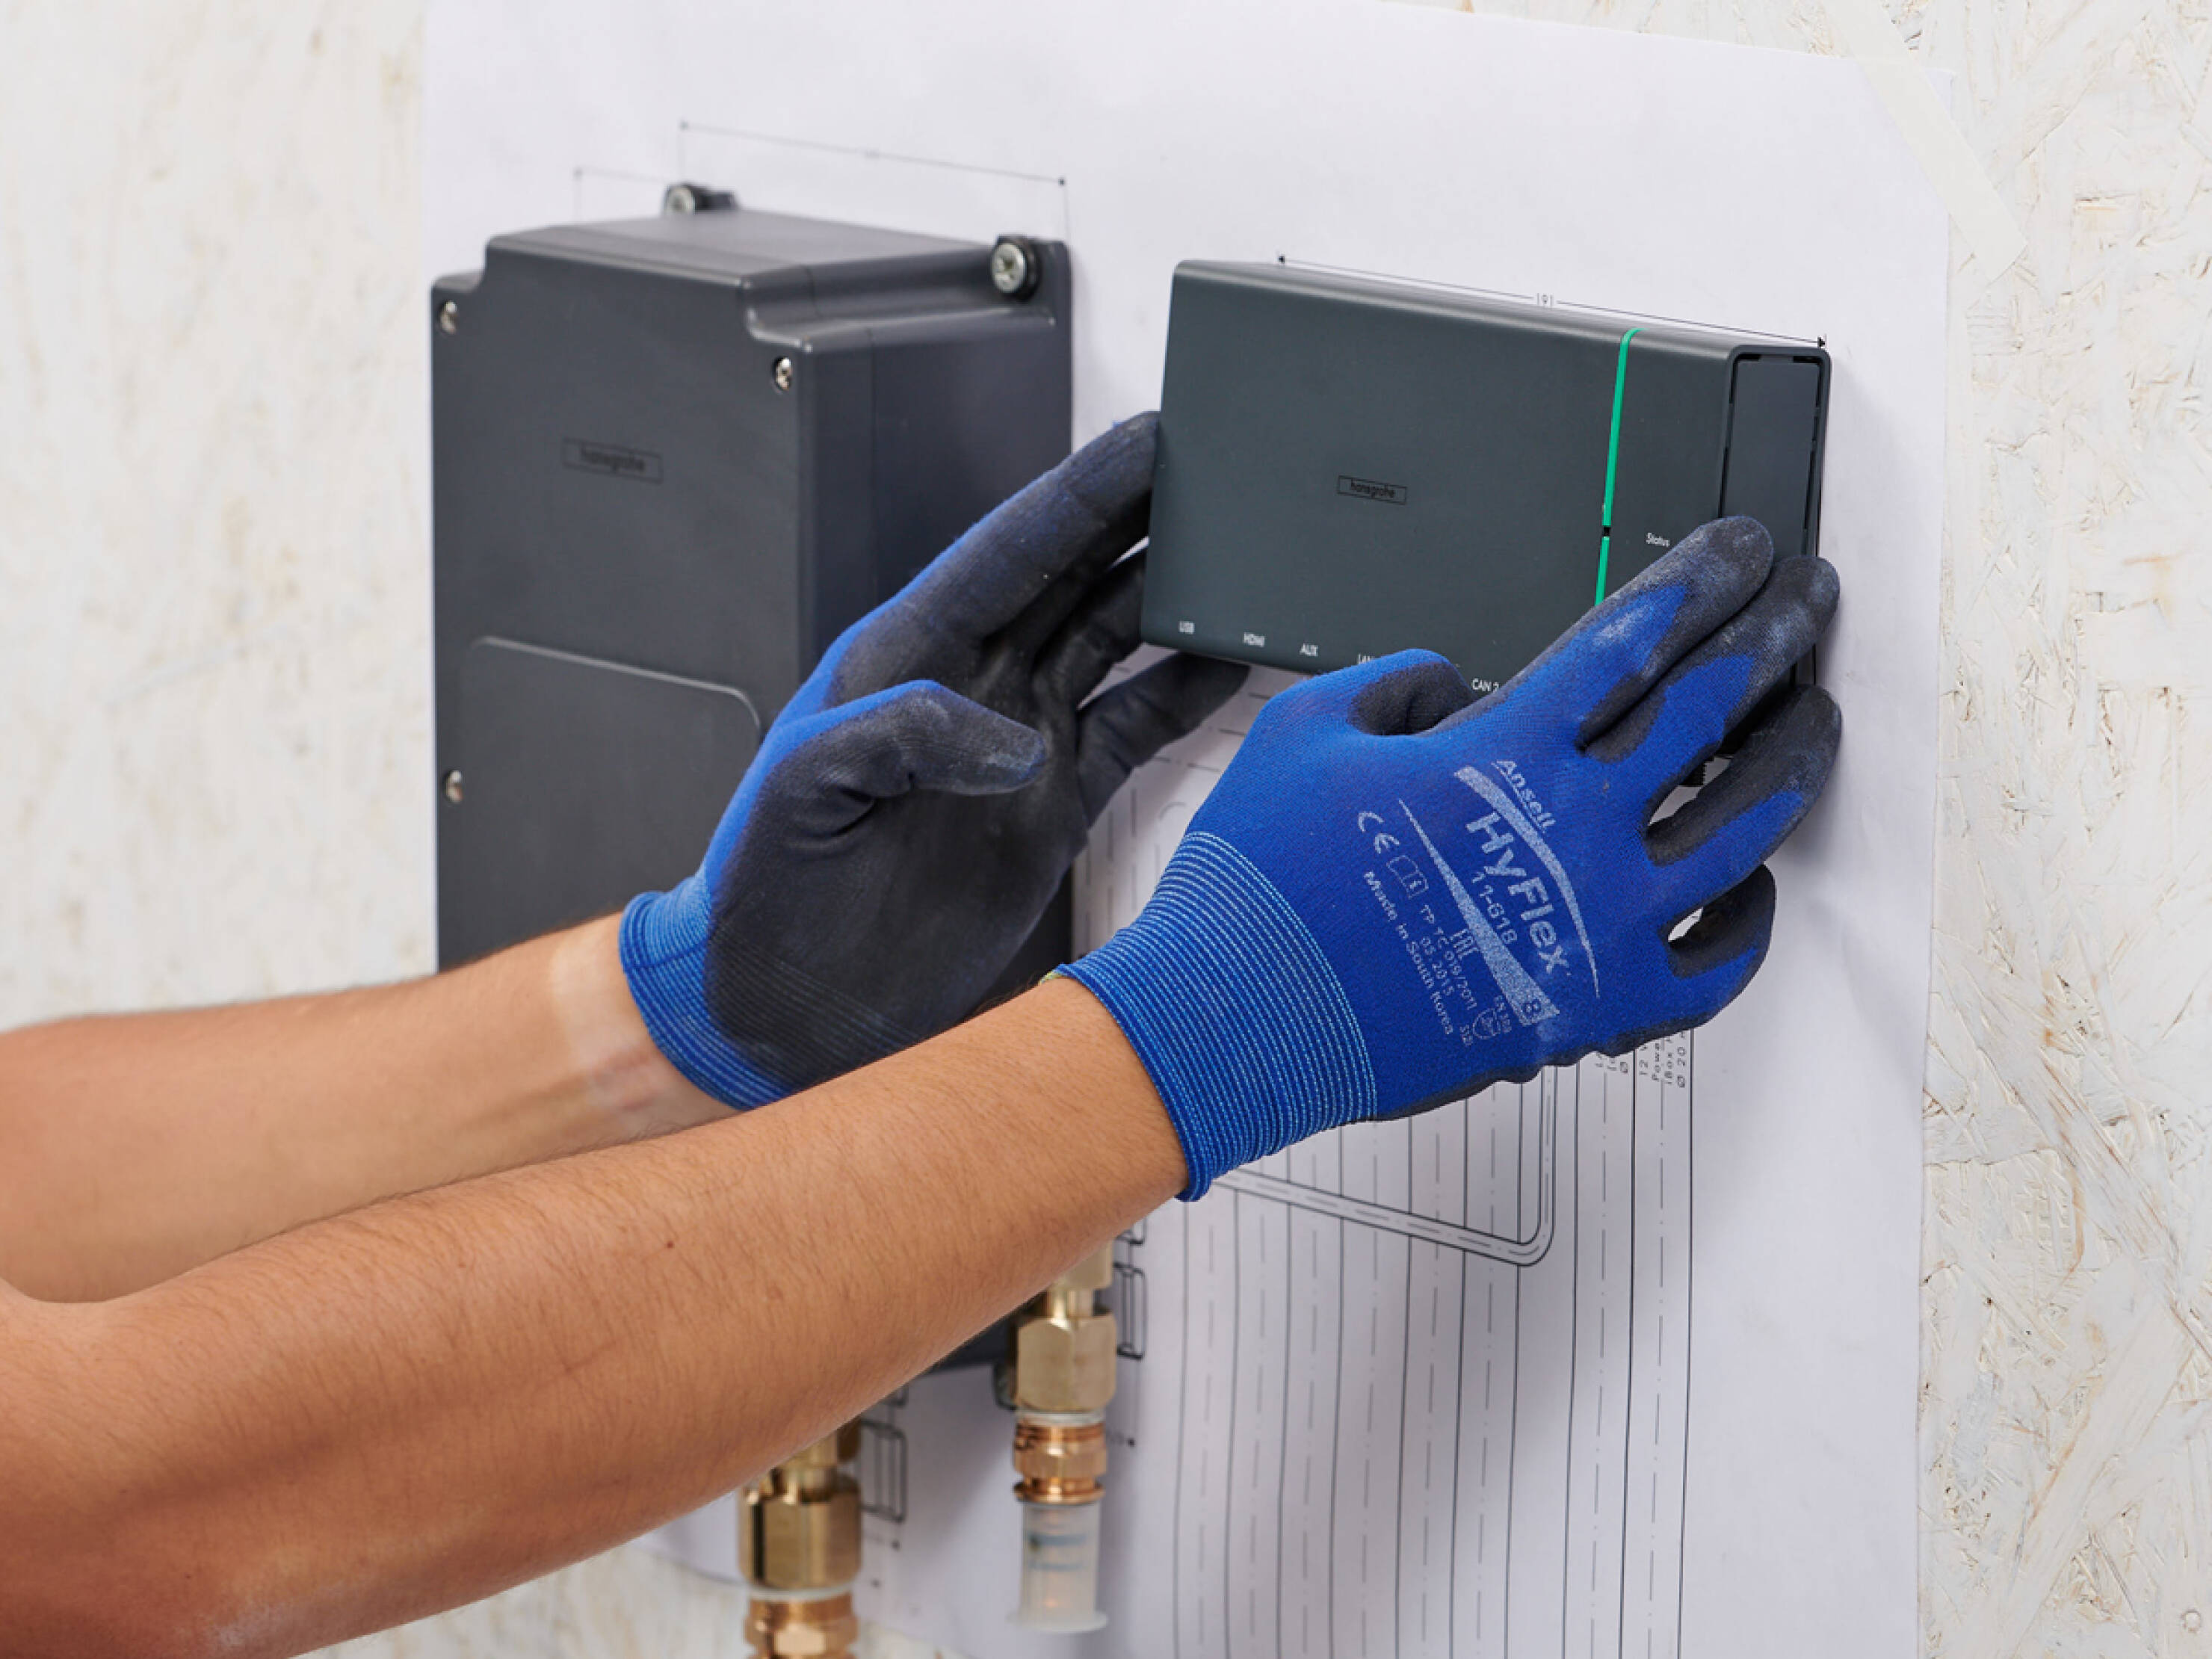
hansgrohe has developed new hardware components for the installation of the RainButton system. Installation behind the wall works so intuitively that you will get along with it perfectly. You carry out the raw installation of the shower system with the iBox Control and the iBox Plugs.
Functions of iBox Control and iBox Plugs
The iBox Control is an electronic concealed thermostat in which cold and hot water are mixed and water flow is regulated. The commands for this are given by the solenoid valves in the iBox Plugs at RainButton.
The iBox Plugs with their solenoid valves are also installed under the plaster. Up to five consumers from the Rainfinitiy series can be connected this way.
Installing the iBox Control in the pipeline
The iBox Control must be installed outside the wet area together with the iBox Hub. The iBox Control must be installed via an inspection opening to ensure easy maintenance and accessibility. In addition, the iBox Control may only be installed vertically. Note: The hansgrohe logo must be horizontally legible.
Professional installation part 3: Shower control with hardware and software
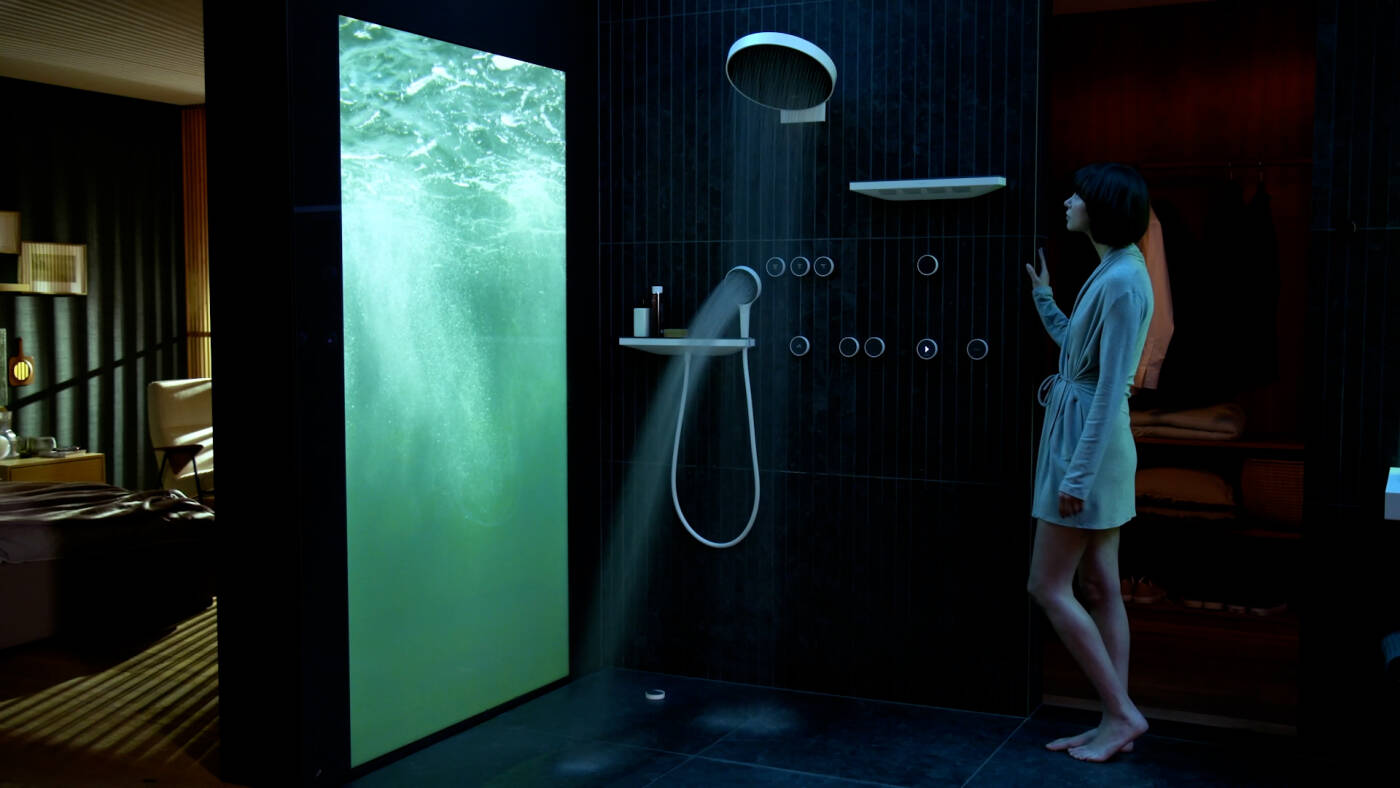
You could say the iBox Hub is the “brain” of the digital shower system. This central control unit acts as an interface between the shower and the app, establishing the connection to the hansgrohe Cloud as well as to the digital shower components iBox Control and RainButton. The RainTunes shower scenarios are transferred to the iBox Hub via the cloud.The iBox Hub also connects the shower to smart devices from hansgrohe partners – such as lights from Philips Hue, the RainScreen from ad notam, or a sound system.
Connecting all the shower components together
And action! You set up the connection using the QR code in the SmartExpert app. During the final installation, the iBox Hub communicates between the shower and the app via Bluetooth.- To be able to install RainButton, you must be a Smart Living partner of hansgrohe. You need the SmartExpert app and an active ProServices account.
- Press the button on the bottom of the iBox Hub to start the pairing mode. The SmartExpert app will automatically connect to the iBox Hub's WiFi network.
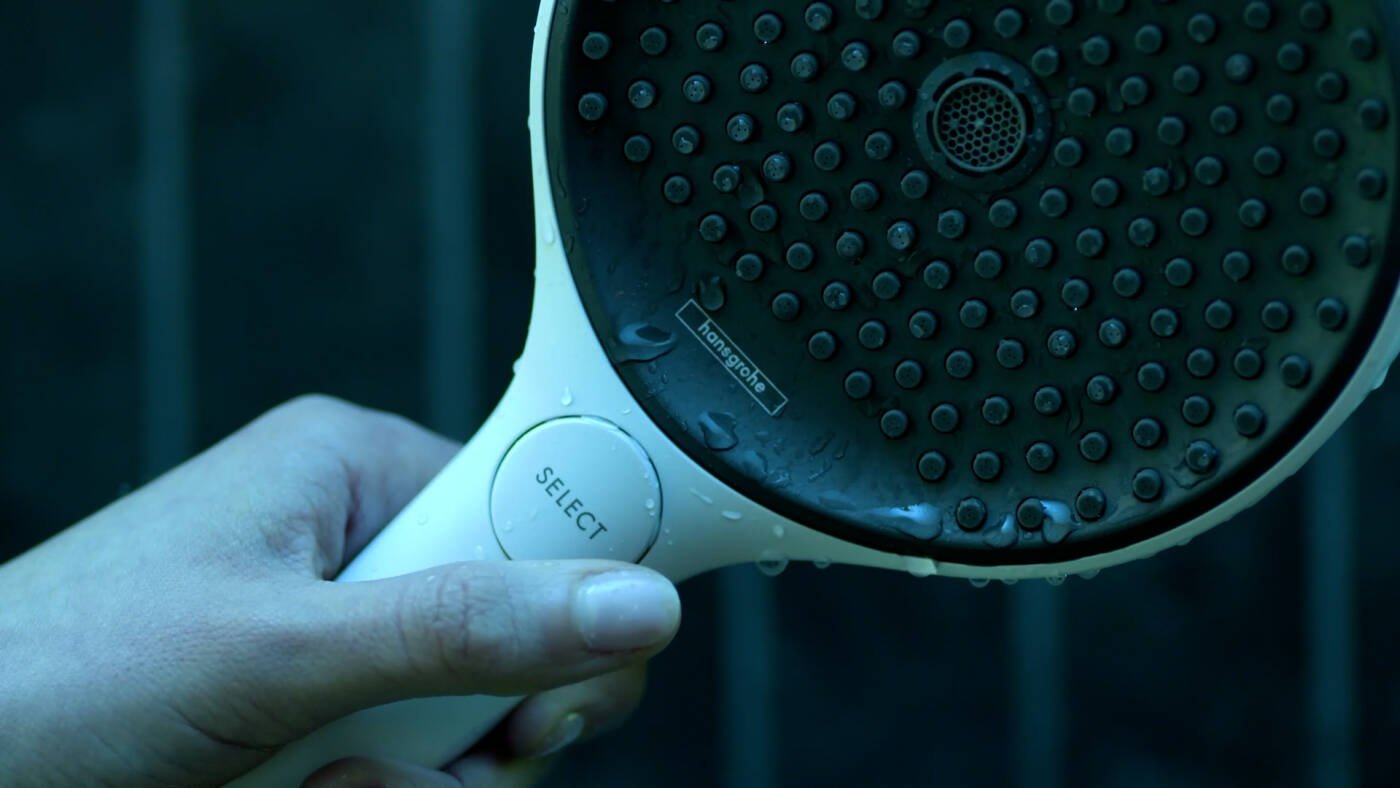
- After you’ve connected the SmartExpert app to the iBox Hub, you can assign the consumers. For example, you can assign the Rainfinity overhead shower or the Rainfinity hand shower to the respective RainButton. Now the smart showering pleasure can begin.


